How to Take the AirPods Pro Hearing Test on iPhone (and What to Do With Your Results)
Your AirPods Pro 2 or AirPods Pro 3 can run a five-minute hearing test right from your iPhone. Here's how to set it up for accurate results, take the test, read your dBHL score and export it for your doctor.
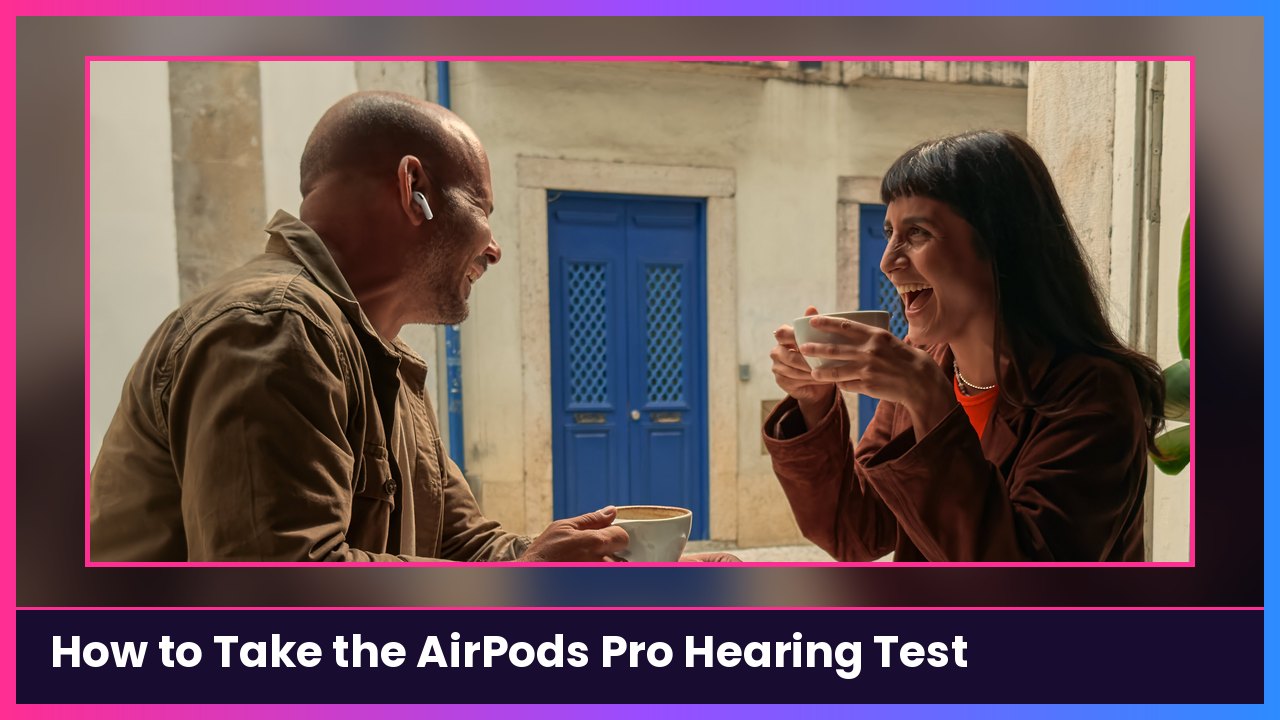
Quick summary: If you own AirPods Pro 2 or AirPods Pro 3, you already have a hearing test in your pocket. Apple’s Hearing Test takes about five minutes, runs from your iPhone or iPad, and gives you a score for each ear plus a full audiogram saved in the Health app. Engadget dug into how accurate it is today and pointed to a 2026 study that found “clinically acceptable accuracy and reliability” compared with a standard test. Here’s exactly how to take it, step by step, using Apple’s own instructions.
Heads up: This is a screening tool, not a diagnosis. Apple says if you notice a sudden change in your hearing, or you have severe hearing loss, talk to your doctor.
What you need
From Apple’s Hearing Test support page:
- AirPods Pro 2 or AirPods Pro 3 on the latest firmware
- An iPhone or iPad on the latest software
- You need to be 18 or older
- You need to be in a country or region where Apple offers the feature. The US is on Apple’s availability list.
- About five quiet minutes
Tip: If your AirPods firmware is behind, see our guide on how to force an AirPods Pro firmware update first.
Step 1: Set yourself up for an accurate result
Apple lists a few things that can throw off your results. Before you start:
- Charge your AirPods. Apple says they need to be sufficiently charged.
- Find a quiet room. The test plays tones from 250 Hz to 8 kHz, some at very low volumes. Turn off fans and loud air conditioning, and get away from people talking.
- Check your timing. Apple says results can be affected if you’ve had a cold, sinus infection or ear infection in the last 24 hours, if you have allergies right now, or if you were somewhere loud, like a concert, in the last 24 hours.
- Get a good seal. Your AirPods need a complete seal in your ears. You can run Apple’s Ear Tip Fit Test from your AirPods settings on iPhone or iPad. If the fit isn’t great, try a different ear tip size. AirPods Pro 3 come with five sizes of silicone foam ear tips, and AirPods Pro 2 come with four sizes.
- Clean your AirPods. Apple says debris can affect the seal, so give the tips a quick clean.
What you should see: Charged AirPods, a quiet room and a snug fit. You’re ready.
Step 2: Start the Hearing Test from Settings
- Put your AirPods Pro in your ears and make sure they’re connected to your iPhone.
- Open Settings.
- Tap the name of your AirPods near the top of the screen.
- If you see it, tap Hearing Health.
- Tap Take a Hearing Test.
Other way in: You can also start it from the Health app. Apple’s iPhone User Guide says to open Health, tap Browse, tap Hearing, scroll down to Get More From Health, tap Take Hearing Test, then tap Get Started.
What you should see: A Test Your Hearing screen with a Get Started button.
Step 3: Handle the pre-test checks
Your iPhone may ask you to fix a few things before it lets you start. Per Apple:
- If it asks to run a check: put your AirPods back in the case, close the lid, then tap OK. Tap Take Hearing Test when the check is done.
- If it says to find a quieter space: turn off fans or AC, or wait until it’s quieter, like at night. The test keeps listening to the room and tells you when it’s quiet enough.
- If it says to adjust the fit: try a different ear tip size.
- If it says your AirPods need cleaning: clean them, then try again.
What you should see: The test starts and asks you to tap when you hear a tone.
Step 4: Take the test
- Tap the screen when you hear a tone. Apple says each tone pulses three times to give you time to respond, but you only need to tap once.
- Don’t stress if you miss one. Apple says that’s OK.
- Keep your AirPods in. If you take them out, adjust them or the room gets loud, the test pauses. It picks back up when you put them back in or things quiet down.
What you should see: A progress indicator, then your results after about five minutes.
Step 5: Read your results
You get a single number for each ear, measured in decibels of hearing level (dBHL). It’s an average across the frequencies that matter most for understanding speech. Higher numbers mean sounds need to be louder for you to hear them. Apple’s scale:
- Up to 25 dBHL: little to no hearing loss
- 26–40 dBHL: mild hearing loss
- 41–60 dBHL: moderate hearing loss
- 61–80 dBHL: severe hearing loss
Tap Show Details to see your full audiogram, broken out by frequency.
What you should see: A score for your left and right ear, a hearing loss classification and Apple’s recommended next steps.
Step 6: Save and share your results with your doctor
Your results are stored in the Health app. To find them or send them to a doctor, per Apple:
- Open the Health app.
- Tap Browse (on iPad, open the sidebar).
- Tap Hearing. Your latest scores are in the Hearing Test Results section.
- Tap Hearing Test Results to see the full chart.
- Scroll down and tap Export PDF, then tap the Share button to email it, message it or Save to Files.
- Tap Show More Data to see your test history over time.
What you should see: A PDF of your audiogram you can hand to an audiologist.
Step 7 (optional): Turn on Hearing Aid or Media Assist
If your test shows mild to moderate hearing loss, Apple says your AirPods Pro can use your results to tune their sound. Per Apple’s Hearing Aid page:
- With your AirPods in and connected, open Settings and tap the name of your AirPods.
- Tap Hearing Health, then Hearing Assistance.
- Tap Set Up Hearing Assistance.
- Tap Use a Prior Test Result and pick the test you just took (or tap Take a Hearing Test if you haven’t yet).
- Tap Set Up Hearing Aid, Get Started, Next, then Turn On Hearing Aid. Depending on your results, it may suggest Media Assist instead, which makes music, videos and calls clearer.
Apple notes Hearing Aid only amplifies the world around you in Transparency mode, and it’s intended for people 18 and up with perceived mild to moderate hearing loss. Availability varies by region.
Tips
- Take it once a year. Engadget’s take is that it works best as a regular check before you notice problems, not a fix once they show up.
- Retest after a cold clears up. Apple says recent infections and allergies can skew results.
- Ear tips matter more than you think. A bad seal is the number one thing that’ll mess up a home hearing test.
- It doesn’t replace an audiologist. Engadget points out an in-office visit includes tests the AirPods can’t do, like bone conduction and eardrum checks.
Recap checklist
- AirPods Pro 2 or Pro 3 updated and charged
- Quiet room, good ear tip seal, no cold or concert in the last 24 hours
- Settings > [your AirPods] > Hearing Health > Take a Hearing Test
- Tap once per tone
- Read your dBHL score and tap Show Details
- Health > Browse > Hearing > Hearing Test Results > Export PDF for your doctor
- Optional: set up Hearing Assistance with your result
Don’t have AirPods Pro 3 yet? They’re in the shop box below.
Subscribe to GregglesTV for daily tech news, reviews and walkthroughs.
See today’s GregglesTV Best Tech Deals or browse all deals posts.


Comments
Comments are moderated. Hate, slurs, spam and scam posts are blocked. Don’t include personal info you wouldn’t want public. See the privacy policy.
Loading comments…