How to Set Up Apple HomeView, Step by Step
Apple HomeView is out today. Here's how to set it up with your iPhone or iPad, from checking your Home app role to the required software update and enrolling your face and voice.
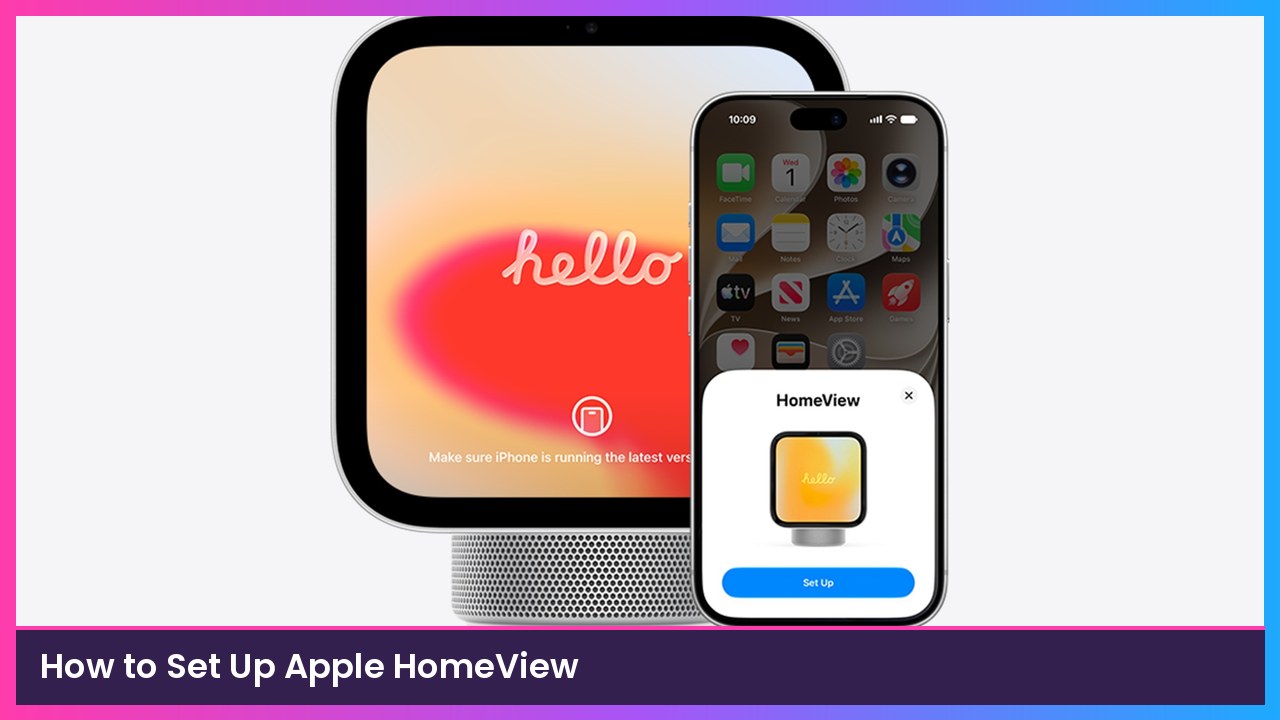
Quick summary: Apple’s first smart display, HomeView, went on sale today, November 13, for $299. You don’t set it up on the display itself. You set it up with your iPhone or iPad, and there are a couple of things that trip people up: you need to be the owner of the home in the Home app, and HomeView has to run a required software update partway through. Here’s the whole process, based on Apple’s official setup guide.
Key takeaways
- You need an iPhone on iOS 27.2 or later, or an iPad on a current iPadOS. Apple’s setup page says iPadOS 27 or later, while HomeView’s retail listing lists iPadOS 27.2, so just update to the latest version to be safe.
- You must be the Resident (Owner) of the home in the Home app.
- The tabletop HomeView uses the USB-C cable and 30W power adapter in the box. The wall-mounted model needs a separately sold mount and power solution.
- HomeView can recognize up to six people, and each person enrolls their own face and voice.
Before you start
- Update your iPhone or iPad. Go to Settings > General > Software Update and install the latest version.
- Sign in to your Apple Account on that iPhone or iPad.
- Turn on Bluetooth and connect to Wi-Fi.
- Check Find My: open the Find My app, tap Me, and make sure Shared From is set to This iPhone (or This iPad). If you see Use This iPhone as My Location, tap it.
Step 1: Check that you’re the home’s owner
- Open the Home app on your iPhone or iPad.
- Tap the More button, then tap Home Settings.
- Look under your name for your role. It needs to say Resident (Owner).
If you’ve never used the Home app, download it and follow the prompts to create a home. Apple says you automatically become the Resident (Owner).
What you should see: Your role listed as Resident (Owner). If it says something else, have the owner of the home do the setup.
Step 2: Plug in HomeView
Tabletop HomeView:
- Put it on a solid surface with at least 6 inches of space around it.
- Plug it in with the USB-C cable and 30W power adapter that came in the box.
HomeView (Wall Mounted):
- Power it with a compatible third-party mount and power solution (sold separately).
- If you’re installing the mount yourself, follow the mount’s instructions. You can also do setup with HomeView sitting on a flat surface first.
Heads up: Apple doesn’t install the wall-mounted model. If you hire an installer, Apple suggests updating your iPhone and HomeView before they arrive.
Step 3: Bring your iPhone close and tap Set Up
- Unlock your iPhone or iPad and hold it in front of HomeView.
- Tap Set Up when the card pops up.
- Set up any accessibility features you want for your profile.
If the Set Up card doesn’t appear: lock your iPhone, unlock it again from the Home Screen, and try again. Still nothing? Double-check the requirements above and install any software updates.
What you should see: A HomeView setup card on your iPhone, like the one in the image at the top of this article.
Step 4: Scan the code, pick a room and run the update
- Center HomeView in your iPhone’s camera frame. If you can’t use the camera, tap Enter Passcode Manually. HomeView will show a four-digit code to type in.
- Choose a room for HomeView. You can change it later.
- Follow the prompts and start the required HomeView software update.
- Don’t unplug HomeView while it updates. Apple says configuration times vary.
- While you wait, tap the Tips notification on your iPhone to get Apple’s HomeView User Guide.
- When the update finishes, keep following the on-screen steps.
What you should see: HomeView updates, then moves on to the next part of setup on the display.
Step 5: Enroll your voice and face on HomeView
- Voice Recognition: say the phrases shown on the screen.
- Face Recognition: Apple’s tips for a good scan:
- Face even, front-facing light. Avoid bright windows or lamps behind or beside you.
- Keep other people out of the background.
- Tilt the screen toward your face.
- Wear your hair the way you usually do, with a neutral expression.
- Center your face and slowly turn your head left, right, up and down when prompted.
- Follow the quick tutorial on switching HomeView faces, seeing your apps and opening Control Center.
- Swipe up from the bottom of the Welcome screen to finish.
Good to know: Apple says your face and voice profiles are stored in iCloud. If you set up another HomeView, or reset this one, with the same Apple Account, your profile carries over so you only enroll once.
After setup: what to know
- Settings come from the owner’s iPhone. Apple says HomeView uses the owner’s Wi-Fi, Siri, Apple Account and language settings from the paired iPhone or iPad. Change them there and they change on HomeView too.
- Rename it or change its room in the Home app.
- Private stuff stays private. Messages, calendars and reminders only show when HomeView recognizes you. Shared things like smart home controls, weather and news are visible to everyone.
- It’s also a home hub. The Apple Post notes HomeView automatically becomes a home hub during setup, so you can control and automate supported accessories remotely.
Tips
- Set it up where it will live. You pick a room during setup, and the face scan works best in the light you’ll actually use it in.
- Add the rest of the family afterward. Each person enrolls their own face and voice, up to six people.
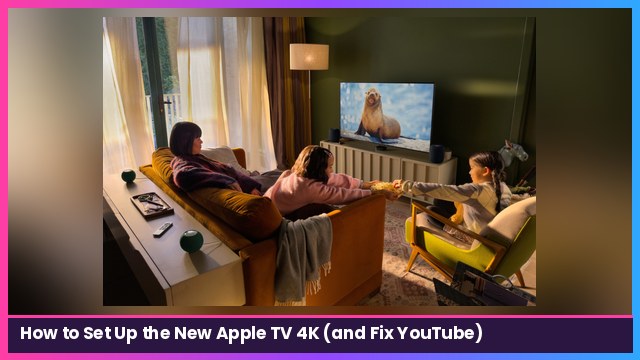
- Already have an Apple TV? The new Apple TV 4K also launched today and works as a home hub too.
Recap checklist
- iPhone on iOS 27.2 or later (or iPad on the latest iPadOS)
- Signed in, Bluetooth on, on Wi-Fi, Find My set to This iPhone
- Resident (Owner) role confirmed in Home > Home Settings
- HomeView plugged in with the included cable and 30W adapter
- Tapped Set Up, scanned the code, picked a room
- Let the required software update finish without unplugging
- Enrolled your voice and face, then swiped up to finish
My take
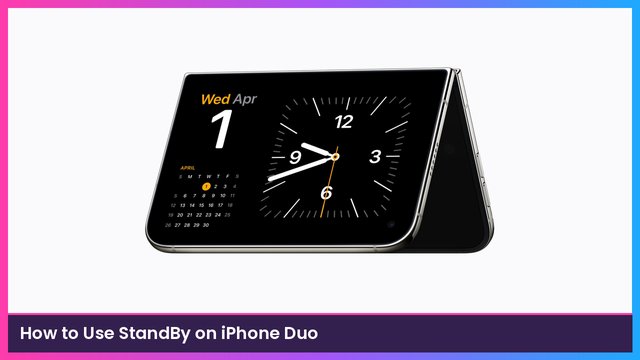
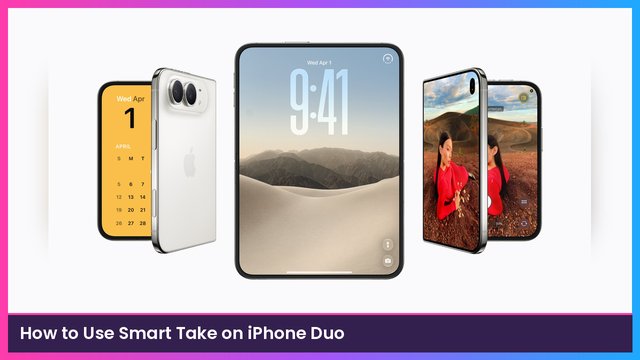
The setup is mostly painless, but the “you must be the owner” rule will catch a lot of families where one person set up the Home app years ago. Sort that out first and you’ll be done in a few minutes, plus the update. If you’re still deciding, read my roundup of what HomeView reviewers are saying. You can grab HomeView on Amazon, and if you’re shopping for a new iPhone anyway, the iPhone Duo is the one I’d pair it with.
Sources
Subscribe to GregglesTV for daily tech news, reviews and walkthroughs.
See today’s GregglesTV Best Tech Deals or browse all deals posts.
Comments
Comments are moderated. Hate, slurs, spam and scam posts are blocked. Don’t include personal info you wouldn’t want public. See the privacy policy.
Loading comments…